Friday 27 December 2013

Have you moved into the cabin yet?!


The answer is no....not quite! We decided to get another electrician as we had no idea when the other one was going to turn up....how long's a piece of string you begin to ask! lol  :oP

We were told (by the new electrician) that my cabin will be the first job in the New Year....so very hopeful that time is imminent and he's not booked a 3 month cruise somewhere hot and fancy! :o) lol 
The interior painting is now complete (apart from the top coat around the window frames and doors, this will be done in the warmer weather), so with that we've moved some of my dolls house kits into the cabin. Most of my collection is still in the day room or in storage, once the electrician has been then I can finally move everything in and decide on the layout....which will change a few times, it has already and the jury is still out about the type of storage!  lol
Just a few kits, and my garden tub that I'm going to have as a mini wildlife pond-let in (just outside my cabin!)  
The  (concealed) guttering has been fitted both to the front and back of the cabin, I have 2 water butts that are at the furthest side (by the fence and out of view). No more drippy roof! The front fascia has been now fitted too. 
Two of my Christmas presents, and both for my cabin. The first one is an electric wood burning stove...which I absolutely adore...what  a wonderful surprise present that was! My parents bought me that. :o))   
 The little wood stove with its opening front. ;o).
This is my giant pocket watch for my cabins' wall! I have a love for pocket watches and I saw this one. It's silver nickel and fits in perfectly with my cabin's style. ;o) Again, my parents bought it. :o)) 

The roses ordered (so far) have arrived and have been heeled in for the Winter. They will be planted out in their proper spots in the Spring.  ;O))

I will be back when I have a new update...until then, I hope you all had a wonderful and joyful Christmas and wishing you all a happy, healthy and prosperous New Year! :o))

Behave until the next time...and I hope you don’t mind my ramblings and madness! :o))

Michelle xxxx 

Saturday 30 November 2013

The future's bright....it's pink! A cabin and stuff update!


I have been quiet as we have been busy, mainly house and garden stuff! :O) I've had delays with the interior of the cabin being painted due to the workmen using it to keep their tools and kit dry. Also, we've had all the paths, patio and ramp done too. There is still lots more to be done, but at least we have the basic shape and layout in the garden now. ;o) 

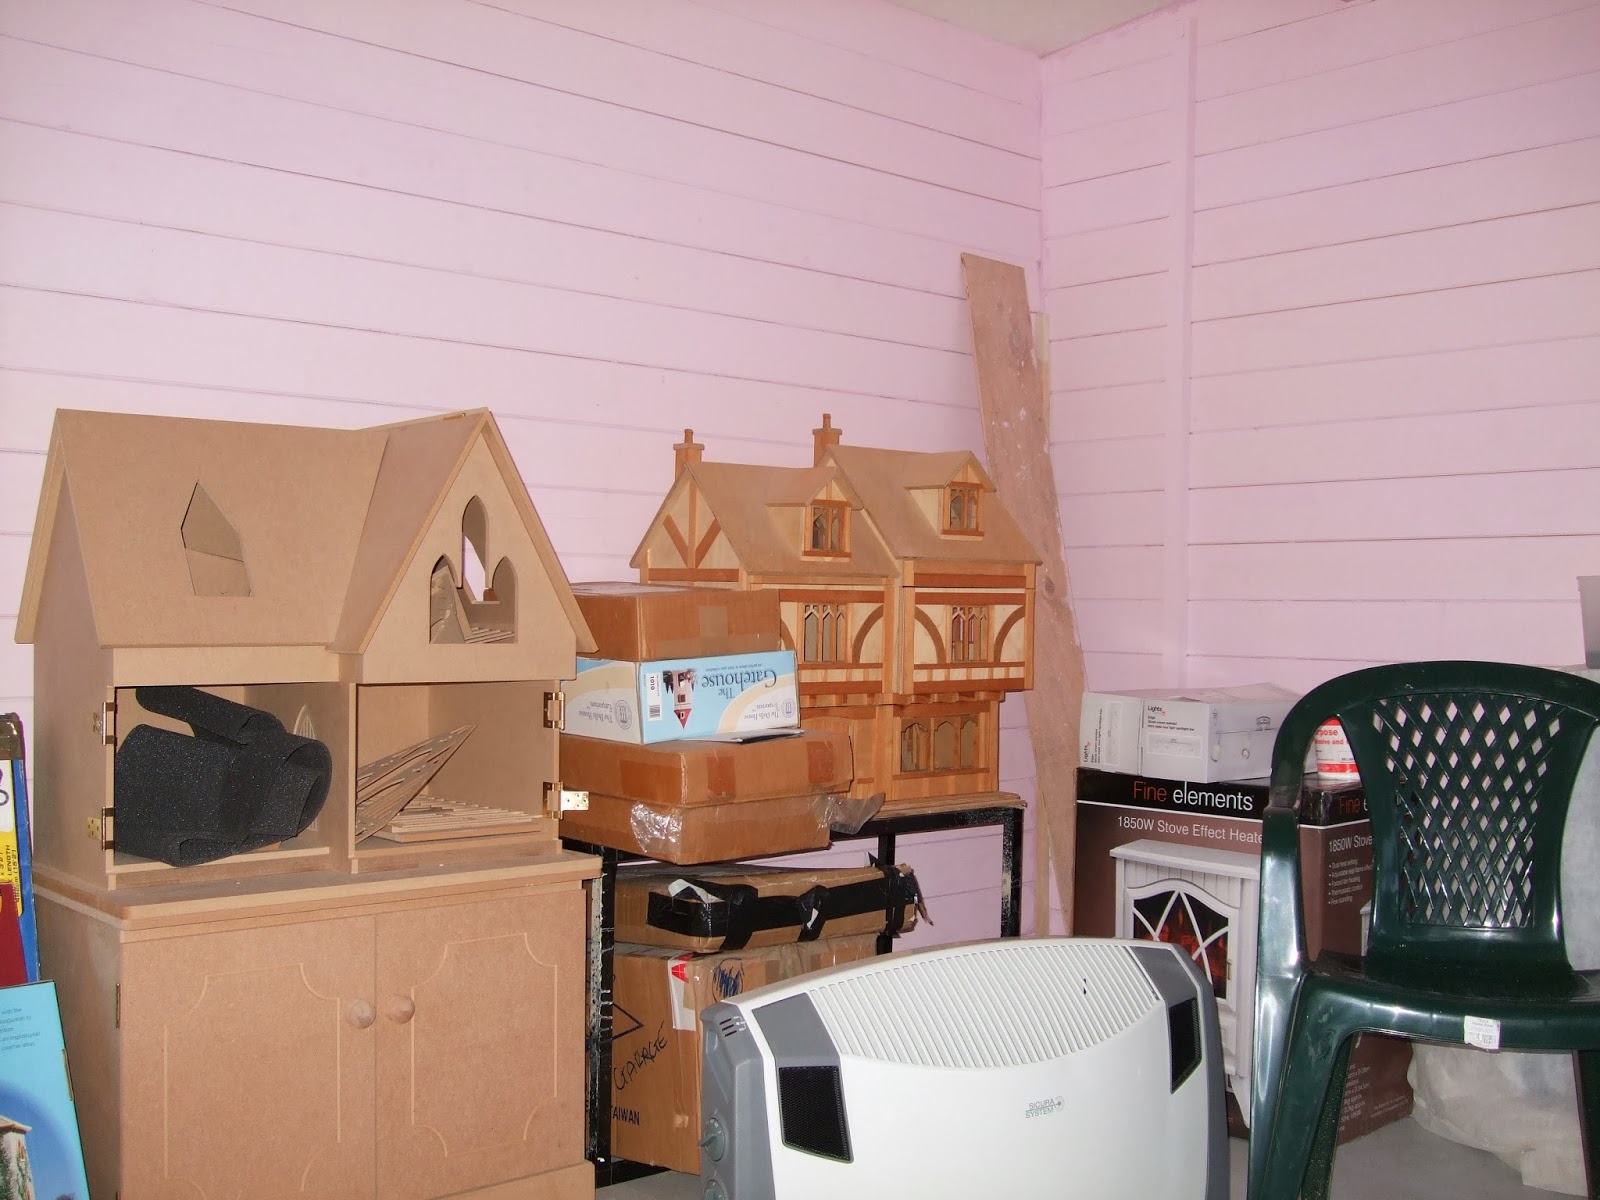
Firstly, the cabin has taken on a hue of pinkness! lol The paint shown here is not dried and it does infact dry a lighter shade. It's not finished as you can see, but we can resume work on it now the workmen have vacated it and will now start on the other bathroom this week. Also some new windows, 2 sets of French doors, a front door are being fitted this week too. 
Half of the cabin interior has been painted. The ceiling, doors and window frames all need to be painted. The window frames will be painted the same as the doors...Farrow's Cream.  
The flooring has now been laid (it was supposed to be painted before being laid, but that decision what not mine and plans changed, I have enormous tarpaulin sheets and masking tape to protect it though) and was a good deal dirtier than this today! Horrid wet and grey weather in Norfolk. :o(  
The box in the back of the shot shows my new fire for the cabin. It has 3 wattage settings, has a timer and a frost free setting too. It's powerful, I saw a review where an owner heated his 20 foot by 12 foot conservatory with it, and was cosy warm and quickly, so that's great for me! :o) 

The square pieces of wood on the side wall, will be (or have been now) painted pink, my Dad wasn't sure what colour I wanted them! lol :OP
Good Lordy, the old mattress's from the day bed are in here till they go back into the day room!
 It's a soft shade of pink, not in your face. I think if it was, it would grind rather! lol  
I will be glad to reclaim my cabin for me! Not full of everyone else's stuff! lol  
The path's being built. We had 4 ton of crushed brick delivered for the base as it needed to be higher.  
 The builders site in our back garden! lol 
Getting there....and taking shape.

 The crushed bricks go in....
 The ramp down to the lawn is going in....
My little side garden, lined with two railway sleepers. 
This side of the garden still has a lot of work to be done on it. The greenhouse will be going soon, my Dad's new mini me shed is in situ, he's a happy man! 

The path and patio nearly done....The garden seat in now up the back fence and in front of a small flower bed (to be...it will have a tree in it), I forgot to take a photo showing it there! :oP 
The brindle's edging the paths and ramp. 
The posts for the rose pergola/arbour. The posts were originally not going to be attached to the front of the cabin, they were going to be further out into the flower bed and buried in cement. However the cabin doors couldn't be hooked back to the stays, so we had to move them. 
Getting there, still very hard looking. No trees, shrubs, plants....yet!  The water won't run off the path and into the cabin, there's a void underneath the cabin threshold where it will run down into and onto the flowerbed. :o)  
 My garden outside my cabin. We need to have a very large load of top soil to build up the beds.
Ta da! The paths and ramp done!

The posts on the cabin have been painted the same colour and will be painted the top coat in the spring. 

The planks of spare cabin pieces on top of the pergola, aren't staying there, unsure why they are there...but! lol I'm having small guttering at the front of the cabin with a small water-butt on the otherside, there is a fair amount of rain that comes off that roof when it rains.  
 Getting tidier.
 Lots to be removed, another skip is coming soon. I think we've had 3 so far!
This side of the garden will change. The lawn will go here with very deep flower beds (one will be 5 feet the other some 8-10 feet.)
The slabs here will be removed and the base of the greenhouse broken up so a lawn can be laid.

Now for cabin stuff!

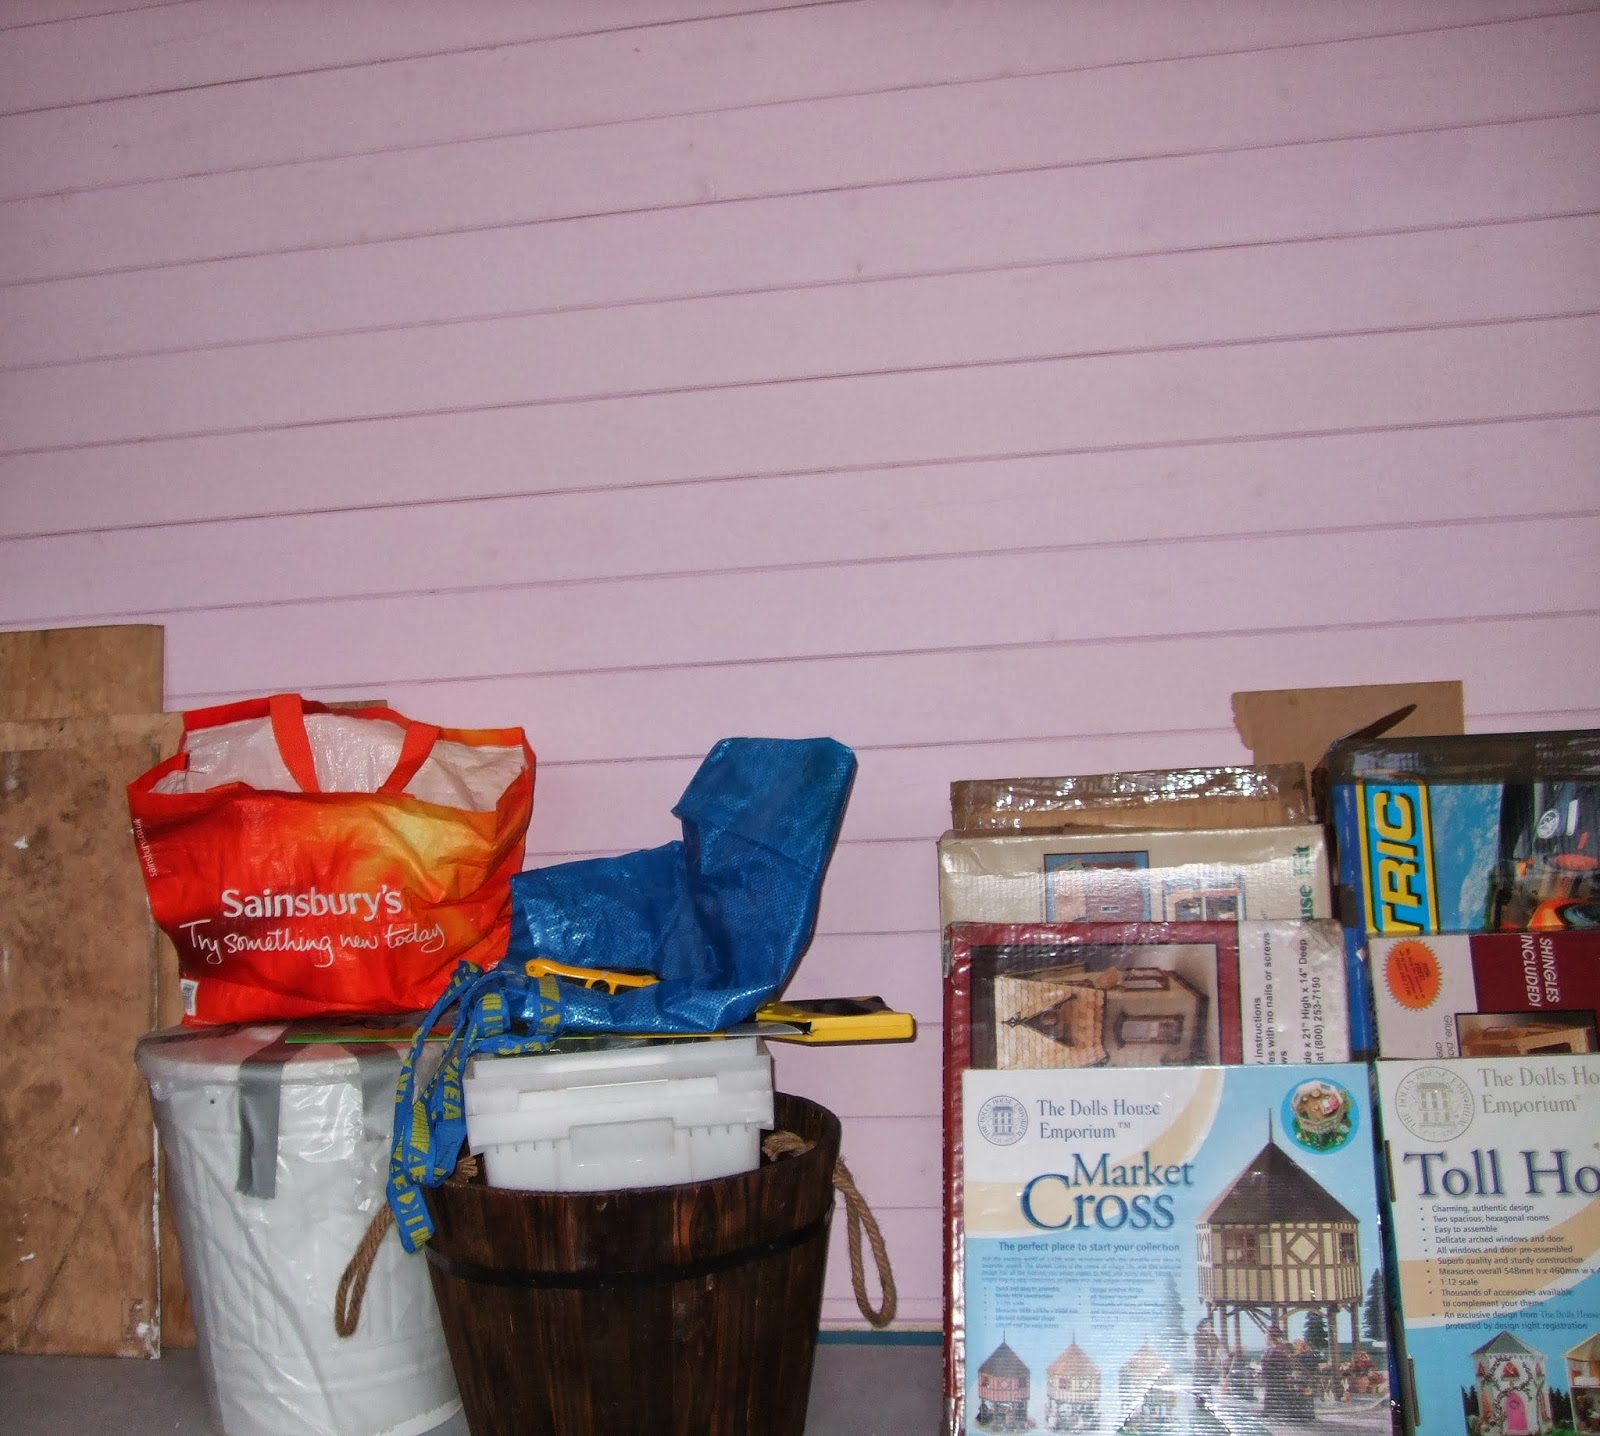
This is reusable silica I bought to help the cabin stay dry and damp free, this bag contains 2 kg. It turns green when it needs to be regenerated in an oven or microwave. I plan to have 2 bowls in my cabin...hidden somewhere. :o)
Some bits and pieces for cabin decoration! The larger bird house will go outside. I will paint that. The other pieces I will paint and add decoupage.
Some more pieces. The fancy cut pieces, some were for my bathroom cabinets and doors.
A few of the scrap booking pages I bought for covering small wooden storage boxes as well as much bigger boxes that will go under my work and display tables.

Once all the ceiling and wall painting is complete, the electrician will fit a consumer box in my cabin, a long with my 2 retro looking runs of spotlights and some of the plug sockets. I'm having my overhead spotlights lights on a dimmer switch as they give off 400 watts of lights between them and with my desk daylight lamps, well, I don't want my cabin visible from space! lol :oP

I have decided on the 6 projects to start or resume work on. 

They will be:
Mrs Puddifoot's Tea shop
Flourish & Blotts
Weasley Wizard Wheeses
Slug & Jiggers 
Winter Cabin - Father Christmas (**late edit**)
Sugar Plums Sweet Shop....plus**

I have completed more work on my tiny 1/48th retro caravan, but I will show that another time. One of my new projects is a **1/12th scale of a late 1950's British beach and Pier scene. It will be an l-shape with  a pier shop, a bandstand and lots and lots of activity! I have bought supplies for it and a few mini's so far...it's not an easy project to do, one very kind friend has made me a wonderful item...a fortune teller in a box! :o)) 

More soon! 

I hope you don’t mind my ramblings and madness! :o))

Michelle xxxx 

Monday 4 November 2013

Paint on the cabin...


Just a tiny post to show some progress...a little only! Well the garden is still like a builders yard, but the whole of the cabin is now painted with 2 coats of paint...well the outside! As the basecoat gives as much protection as the top coat we are going to leave the top coat till Spring when we can guarantee better weather. 

All the Georgian bars have been removed from the windows and won't be fitted back on until they are fully painted.
The blue is masking tape to protect the glass from paint! It's not a new and somewhat lurid look! lol 

No, my cabin hasn't been turned into a spa or sauna! lol As you know we are having the whole of our home gutted and bathroom 1 is currently undergoing just that. The plumber was checking over the bath in my cabin and making the holes for the taps, so that's why its in there. :o)

Inside the cabin which is awaiting its paint. I may keep the main ceiling beams natural wood. 
It looks a little lost in here....but...
Here it is in its rightful home. It still isn't fitted and plumbed in....the bathroom isn't finished yet by far. :o))

Update as soon as the inside is started on!

I hope you don’t mind my ramblings and madness! :o))

Michelle xxxx 

Thursday 31 October 2013

The Cabin build - part 1


Well, the cabin build day went on its third rescheduled day due to the storm we had on the 28th October! 

The build was scheduled to take one day, but the main cabin man under estimated how big the cabin was and it actually took a day and a bit! So, we were good to go on the 29th October and it didn't rain! Three men arrived appropriately dressed, it has been cold here in Norfolk!
We were so relived to find the wood that had been stored was bone dry...our rain and amp protection worked! Phew! Our garden resembles a builder's and lumber's yard, because we are having bathroom one completely refitted too...yes all at the same time! No, we didn't plan it like that....just the way it happened! lol  
The pieces had already been checked and sorted prior to wrapping it up till we were ready to build.
 The ready pressure treated preserved floor beams are put into place.
 It looks like a floor! lol 
I'd still be looking at the instructions....I would have no idea! lol
Once the walls started to go up, it was rather like a giant Lego build! lol 
Window frames going in!
 More still! It's starting to take shape!
 Getting there....still only mid morning at this point!
 The walls nearly done...
The roof and ceiling beams go in...
The sun shows its face! lol
I'm having the flooring insulated after the wooden flooring. You can insulate at this point and then lay your wooden flooring on top of that.

The cabin is fully double-glazed with toughened glass etc. The cabin came with many spares and we had no missing parts or damage...a huge relief! The spare wood will come in handy and my window boxes will be made with some of it. ;o)
It's looking good! 
The roof starting to go on...
 Half on...
 Getting there with the roof...
 YAY! It's on! 
The Georgian bars still need to be added to the doors and narrow windows. 
After the first day, inside. 
This photo is taken on the second day with the internal Storm Braces on. They bolt all the way through to the outside wall. I am going to check to see if its a good idea to have ones that bolt from the outside floor into the ground for good measure. I have been told though that its so heavy it won't move...I will see! 
Another partial interior view to all the mess outside! lol
Before the men came back to add the roof felting (it's on in this photo), my Dad and Mum started to apply the fire retardant. No protective paint can be applied until this is on. It needs an hour to dry between coats and 24 hours there after if possible. It's very watery and goes on frothy and sinks into the wood, it has a milky look to it, rather weird! lol

Because of the size of my cabin and where it was, to meet UK Building Regulation fire retardant needed to be applied. I did months of research and checking to make sure everything was as it should be. 

The supplier of the cabin were very good at advising what checks needed to be made and what the requirements were etc. All cases are different, it isn't a case of just buying a cabin...homework must be done too. :o)) 
The second day. The roof felting is applied. Good job we had no rain overnight! The front fascia will be put on. There will be a small gap between the felting and the fascia to allow the rain to run down in between so the rain can escape quickly from the roof. The cabin man and the bathroom chippie advised this.   I was going to have guttering on the back of the roof, but my Dad says its not necessary.

The fire retardant goes on first..under the undercoat which is seen here on the side and and part of the front. There's enough fire retardant for 3 coats and more. It's been a race against time to get this on, so we could apply the weather protective base coat.
On the narrow windows, the Georgian window bars have been put in the wrong place (top and bottom of the windows lol ). They all have to come off to be painted, as they are only nailed in with panel pins they will easily come out. 

No change since the photo was taken. Fire retardant and paint is still being applied. Almost four sides now painted, just that far corner needs to be painted (see in this photo) as that was the last part to have fire retardant applied to it. 
I'm having a path going to my cabin...we are also having a pergola. The plan is to plant with cream and pink roses. I love this photo as inspiration....we aren't having the gate though! lol  

More soon! Oh and I will be back to re-check and edit...I always do typo's galore, I think faster than I type! lol 

I hope you don’t mind my ramblings and madness! :o))

Michelle xxxx